A sharp, atmospheric and perfectly staged downhill picture. How do you actually do that? In this day and age it is easier and cheaper than ever to take a good picture with relatively little effort.
The right camera!
Let‘s start with the camera. In principle, you can capture a relativly good picture with any camera. The prices on the camera market are made up of camera model, sensor, lens and the number of functions. So to be relatively cheap: look for a starter model. I recommend to look for a cheap camera body – buy the lens separately. Here you can save money and, with a bit of luck, make a great purchase, so that you can find a bokehlicious lens in the best case. A complete camera kit will do the trick, too, of course, but there are usually standard lenses included – these are normally not recommendable. When buying a lens, you should make sure that the aperture is as low as possible. A lens with an aperture of 2.8, for example, is an excellent value. The smaller the aperture value is, the blurrier the background becomes.
Settings
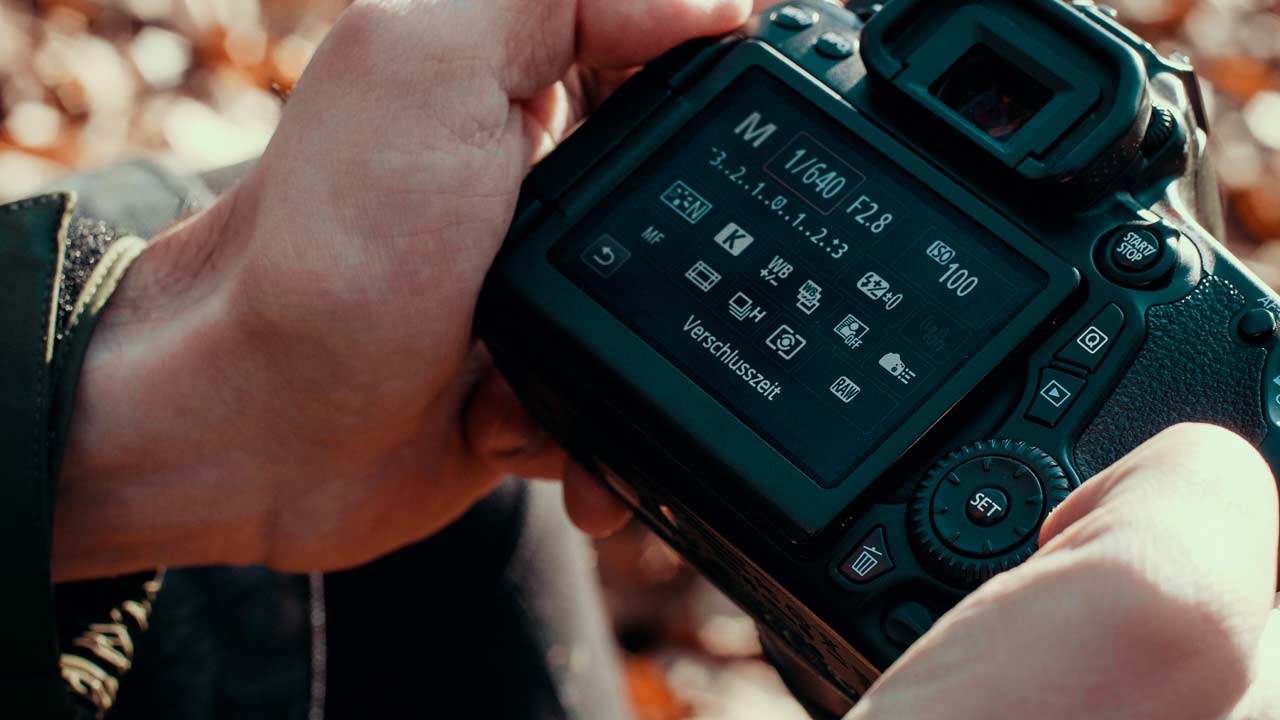
Let‘s get to the camera angles. As just mentioned, make sure you buy a camera that can be adjusted manually. Only then you have full control over the picture and can decide how it should be taken. From the colour up to the release rate, a thousand things can be adjusted on such a camera. For the beginning here is a short overview of my most important settings. The menu navigation is structured differently on other cameras, but you should find each of the settings in your camera.
- Change the picture type to RAW in the menu. This way you can capture the scene uncompressed and have full control of colors in the post-processing.
- Set the image series to fast. In mountain biking it is a matter of milliseconds to catch the perfect moment.
- Open the aperture wide for a nice depth of field and lots of brightness. You`ll need it in dark situations.
- ISO as low as possible for a noise-free image.
- Exposure time for sports images at least 1/640 for sharp pictures. The higher the sharper.
THAT‘S IT! Simple or not?
Well, it‘s not that simple after all. Now you already have some good settings to start with but to make your picture really look great it is also important to know when and why you should change these settings.
Practical example
For the practical example we fortunately chose an sunny day. Sunshine, light clouds – a dream. On days like this, you will have a lot of fun with an entry-level camera. Why? The incidence of light on your lens and camera, transform your camera into a bright mirror. Now you can easily set your ISO value to around ISO-100 and with exposure time and aperture you have much more possibilities.
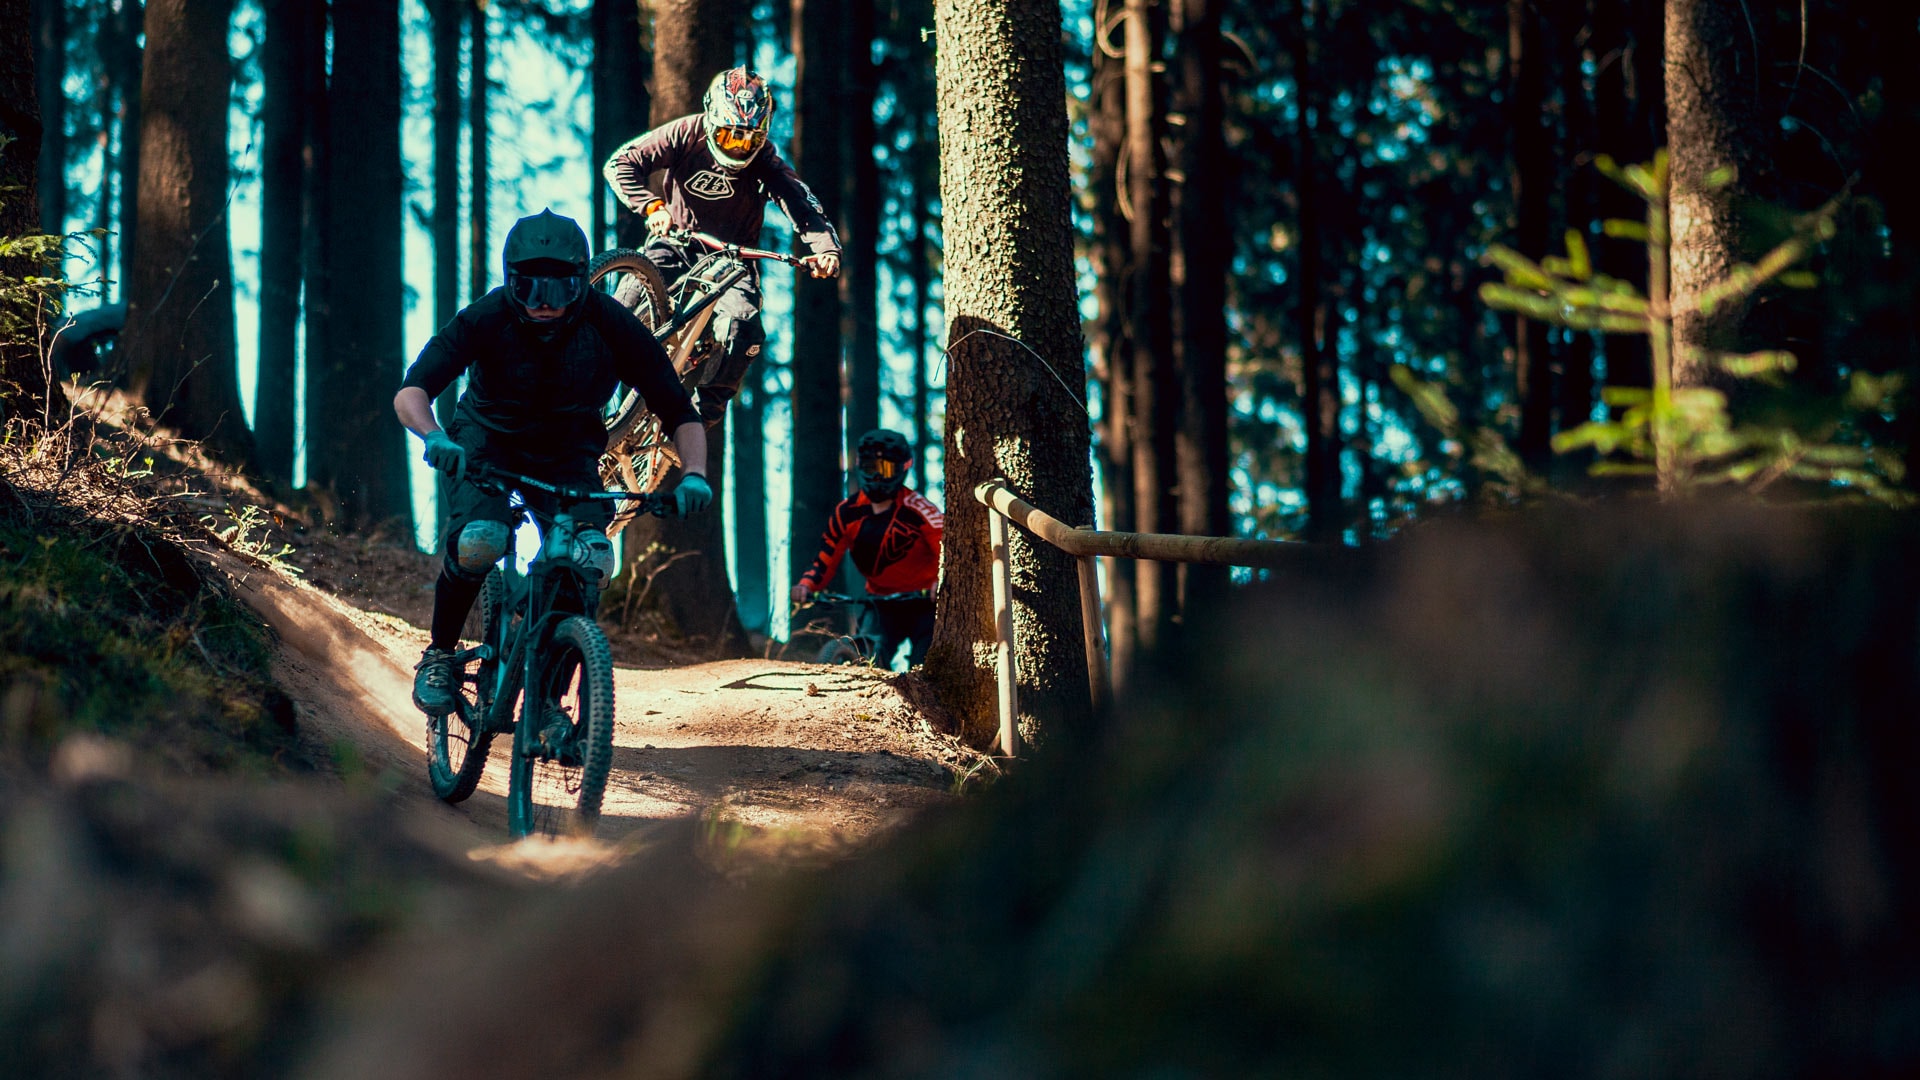
For this picture I had set these values: ISO-100, exposure time 1/640, aperture 2.2. You have more leeway in good light. Since the sensor of entry-level cameras is small and you often don‘t have the fastest lens at the start, you depend on bright and good light. If a few clouds come up or twilight falls, you have to quickly raise the ISO and lower the aperture. Problem: High ISO causes image noise, which means worse quality. An open aperture is nice because you get a nice look with lots of depth-of-field, but it‘s harder to keep the rider sharp in a small focus area. Furthermore, most lenses have the greatest quality development at a medium value. e.g. 2.8. Now is there only one question left in the room or? Why don‘t we just go down with the exposure time? Well, welcome to sports photography. If you try to shoot under 1/640, you will have a problem: The rider is literally too fast and he appears blurred on the picture.
The perfect picture
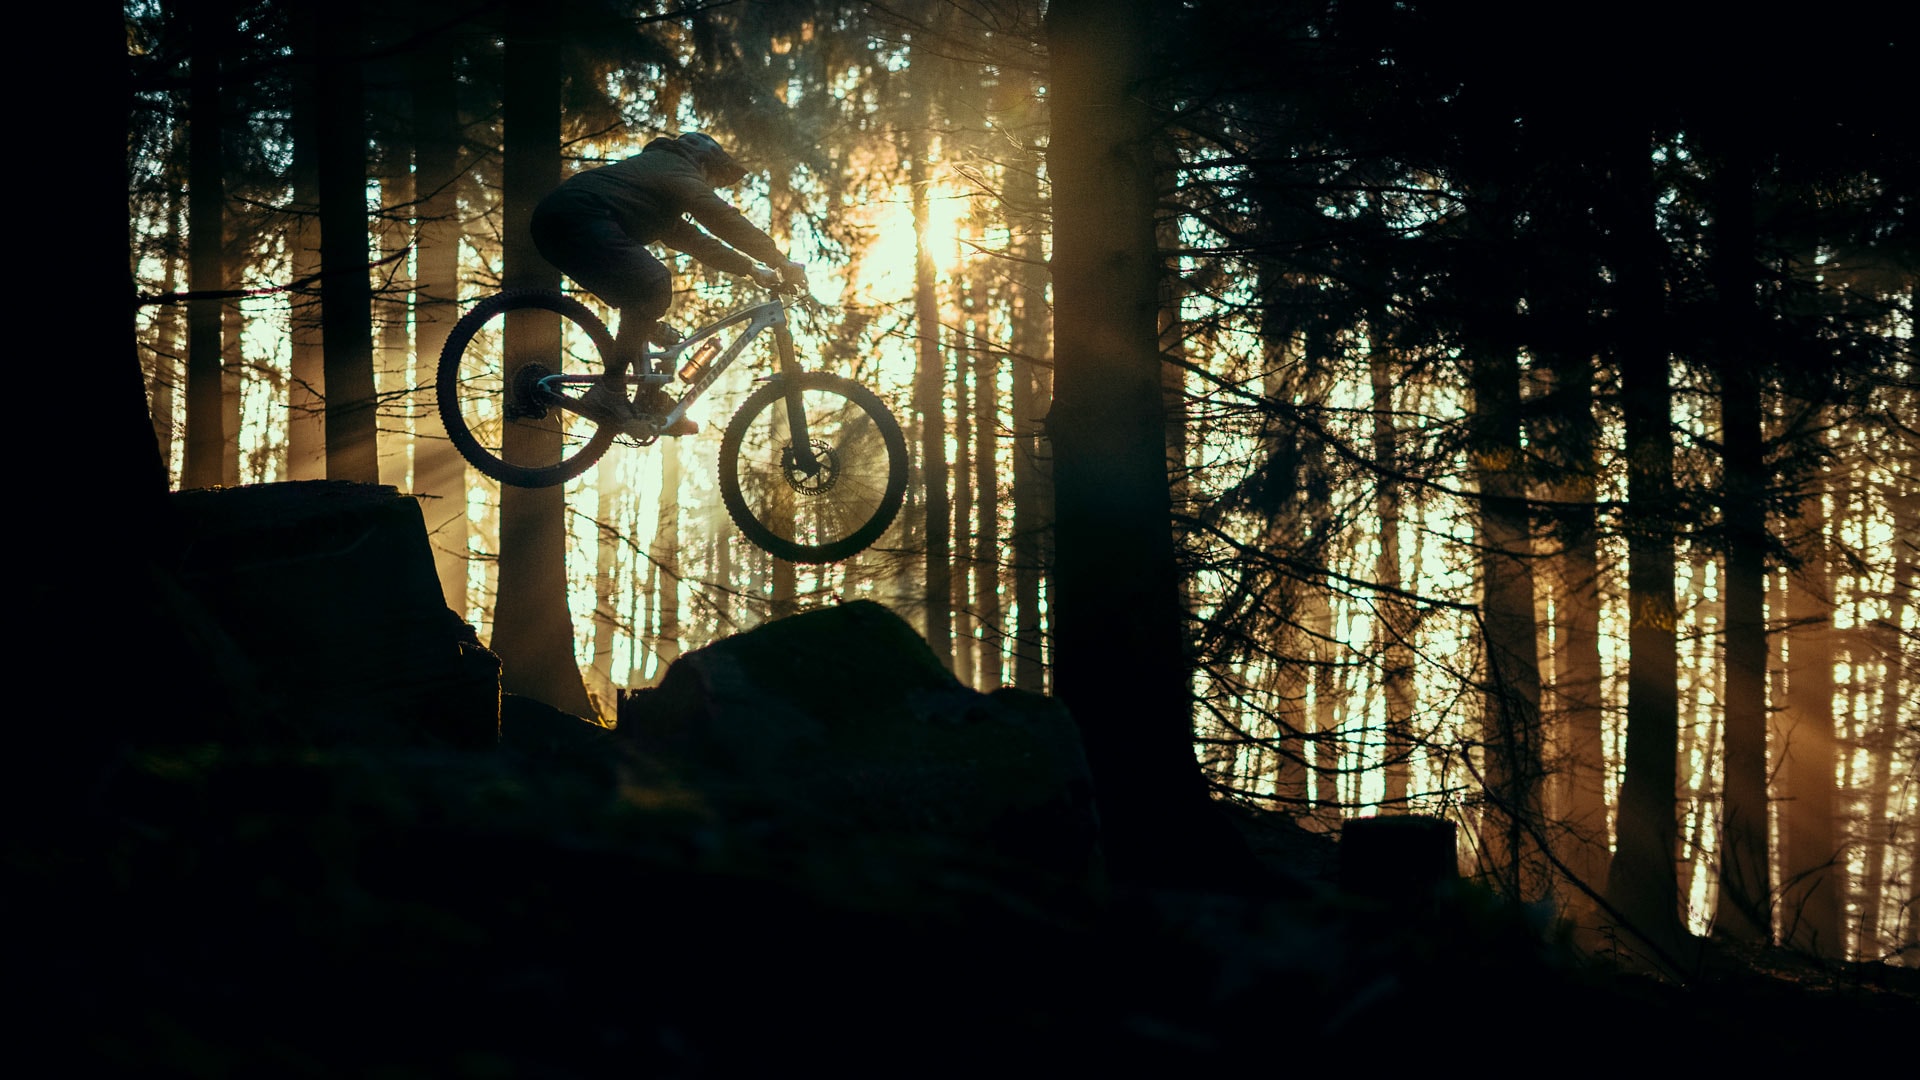
So and how is the perfect picture created? If you have understood how your camera setup should look like, there is not much missing to get the perfect picture. The following things will give your picture the perfect touch:
ACTION
Not only the photographer should have something to work with. The rider also contributes to the cool look of the picture. So step on the gas, take a race-face and spray lots of dirt!
PERSPECTIVE
A creative perspective can refresh a picture extremely. For example, I like to put objects like leaves in front of the lens to give the image more dimension.
EDITING
Since you hopefully took your pictures in RAW, you will have to do some post-processing in e.g. Adobe Photoshop or Lightroom. Here you have endless possibilities to adjust the image to your own preference.
For a perfect start we present you three camera kits to be perfectly prepared!
Beginner kit: Canon 2000D with 50mm 1.8 lens
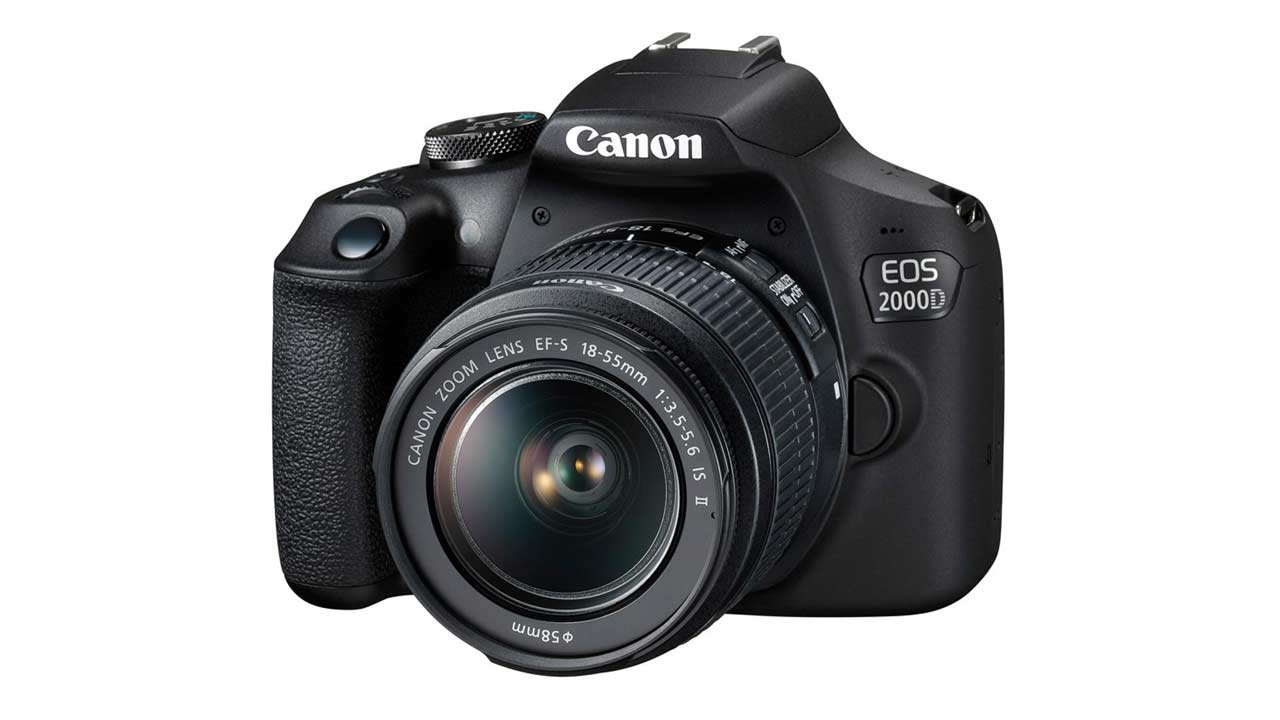
The Canon 2000D is a super entry-level camera at a low price. In combination with the 50mm lens and the open 1.8 aperture you can take good pictures!
Superior image quality: Sony Alpha 7 with Sony 50mm 1.8 lens
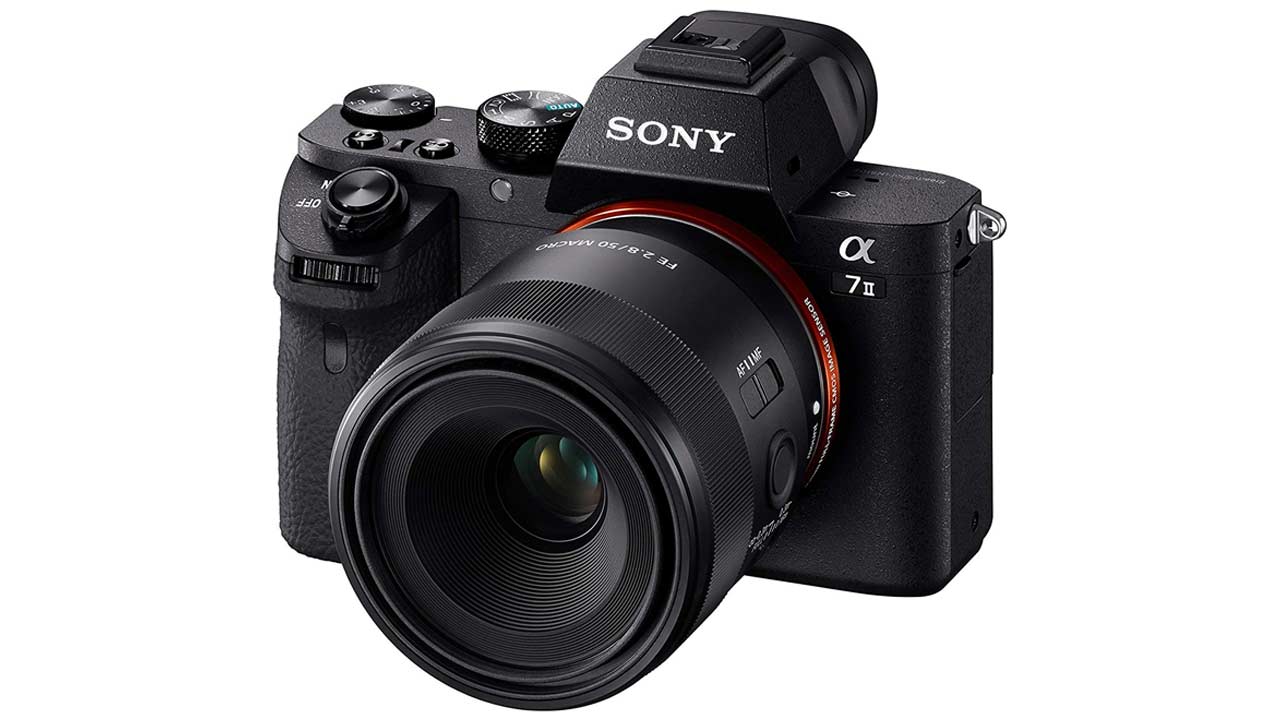
Thanks to the large full format sensor, the Sony A7 is a light-intensive camera that takes super-sharp photos even in low-light situations. In combination with the 50mm 1.8 lens you will be happy!
Price / Performance winner: Sony 6000 with 16-50mm zoom lens
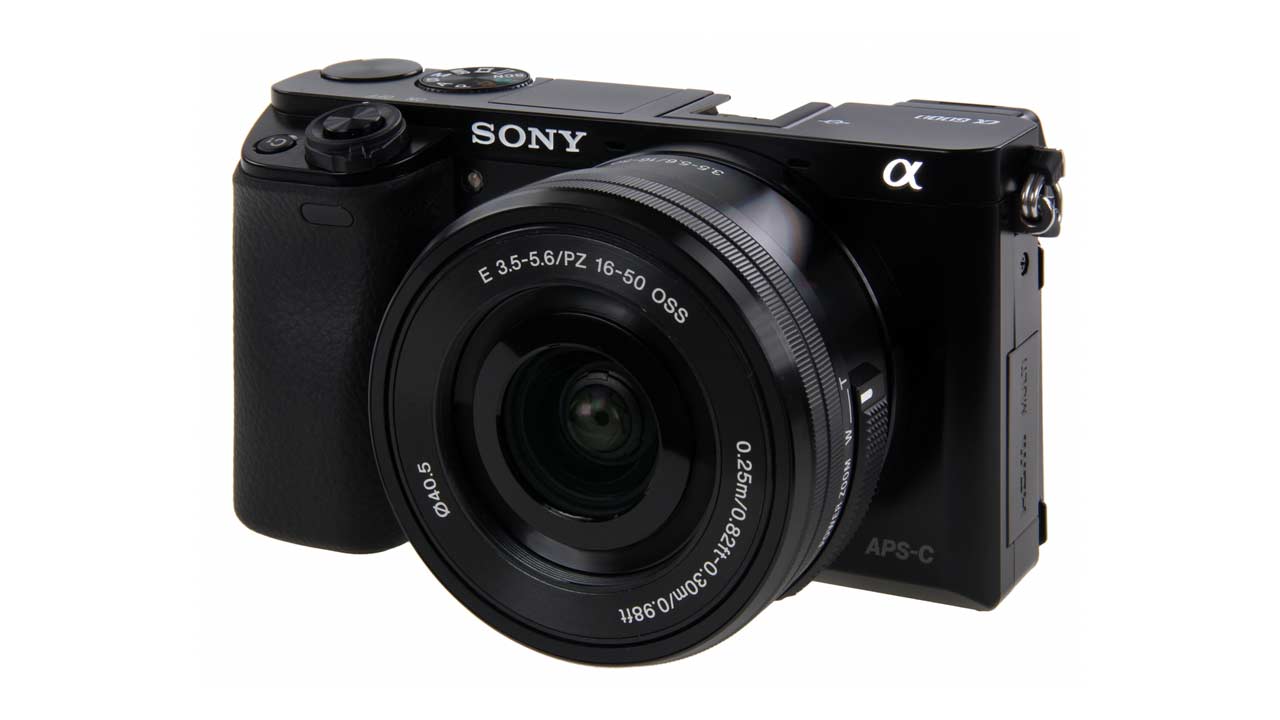
The Sony 6000 offers a compact and affordable camera setup with the zoom lens.


